While we like to organize data in an actual database, a lot of the corporate world stores data in Excel and shares it through SharePoint. We often need to combine this data with other data sources in an automated way, but this isn’t always easy with Python.
We ran into this issue during our Fantasy Basketball Optimization project, where we had to manually track some data and integrate it into our automated pipeline.
That’s why this article showcases how Python can connect to SharePoint via API and read data from a SharePoint Excel file. We can then incorporate this into our cloud scripts to read the data in directly, which is much easier than manually exporting files all the time.
Lets get into it, starting with some SharePoint setup items.
SharePoint Credentials
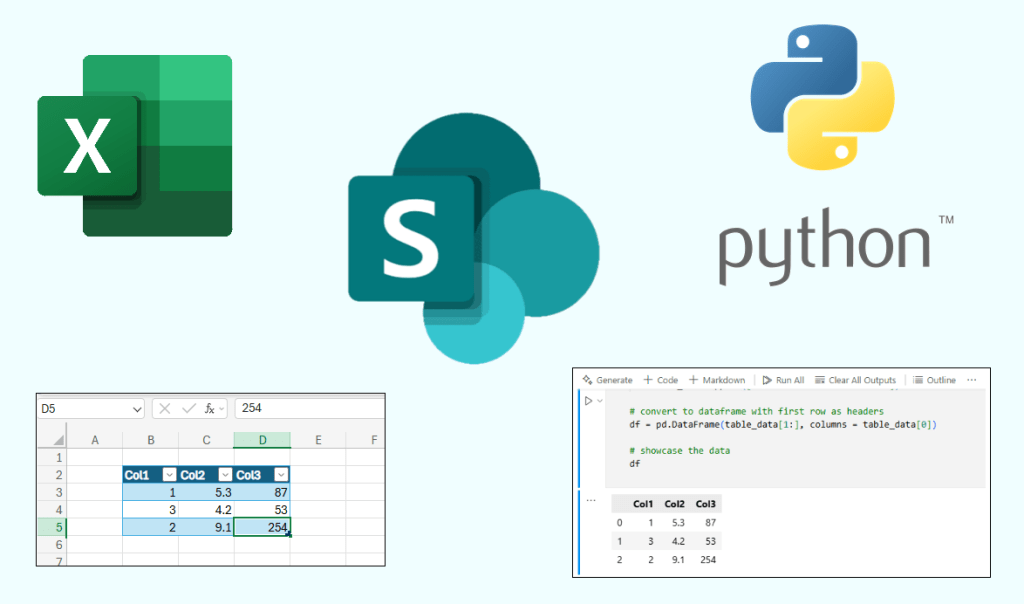
Let’s start by assuming that you already have a SharePoint Online account where you store and share Excel files. We started by uploading a simple demo Excel file to our SharePoint site, and it has a table that we’ll read in as a Pandas dataframe.

Next, we need to create a service principal to authenticate access to our SharePoint server. It’s sometimes possible to authenticate with just your username and password, but this doesn’t work if your organization has Multi-Factor Authentication, so we chose to do it through a service principal.
To start, you’ll want to go to your Azure portal at https://portal.azure.com/#home and follow these steps:
- Navigate to the ‘App registrations’ page (by searching for it in the search bar)
- Click ‘New registration’
- Give the app a name
- Click ‘Register’

Next, we’ll need to give our service principal the appropriate permissions to access our SharePoint site. This is done by navigating to the ‘API permissions’ page on the left and following these steps:
- Select ‘Add a permission’
- Search for and check the ‘Sites.ReadWrite.All’ permission
- Click the ‘Grant admin consent’ button for the new permission

The last thing we need to do is get the client credentials for our service principal. We need to get a client ID and client secret, which are basically like a username and password for our service principal. The client ID will always be the same, but client secrets need to be generated manually and will have an expiration date for security purposes (default expiration period is 6 months). We’ll also need our tenant ID, which is an ID specific to your organization as a whole.
To get these, follow these steps:
- Copy your client ID and tenant ID from the app registration ‘Overview’ page
- Navigate to the ‘Client secrets’ tab under the ‘Certificates & secrets’ page on the left
- Set the description and expiration period and click ‘Add’
- Copy the secret value and save it somewhere secure (for security purposes, this will be the only time you can actually see the secret value in the Azure portal)

With all of your client credentials saved, we’re ready to connect to our Excel file.
Connect with Python
The first thing we’ll do in Python is import our libraries and read in our client credentials. Note that for security reasons, we saved our client credentials as environment variables instead of writing them out directly in the code.
import os, requests, openpyxl
import pandas as pd
from io import BytesIO

from azure.identity import ClientSecretCredential


# read in the credentials
tenant_id = os.environ.get("AZ_TENANT_ID")
client_id = os.environ.get("AZ_CLIENT_ID")
client_secret = os.environ.get("AZ_CLIENT_SECRET")
Next, we have to define a few parameters that describe where our Excel file is saved. These include
- Host name – this is the piece of the URL before the ‘.sharepoint.com’ and identifies your organization
- Site name – name of the SharePoint site where it’s saved
- Drive name – base folder within the SharePoint site
- File name – name of the file (including the .xlsx extension)

We decided to just hard code these into the notebook as variables:
# file parameters
host_name = "dailydataapps"
site_name = "SharePointDemo"
drive_name = "Documents"
file_name = "Demo Excel Data.xlsx"

# file paths
sharepoint_file = f"General//{file_name}"

# base URL for the Microsoft Graph API
base_url = "https://graph.microsoft.com"
The API calls aren’t actually authenticated through the client credentials directly. Instead, we use the client credentials to generate an access token, and then that access token is sent in the API calls to authenticate access.
We can generate that access token with a few more lines of code:
# generate an access token
scopes = [f"{base_url}/.default"]
credentials = ClientSecretCredential(tenant_id, client_id, client_secret)
access_token = credentials.get_token(*scopes).token

# add the token to a headers dictionary
headers = {
    "Authorization": f"Bearer {access_token}"
}
Also, the API doesn’t actually refer to the SharePoint site/drive by name. Instead, they have site and drive ID values that identify where the file is stored.
We can lookup these IDs with a few more API calls:
# Get the SharePoint site ID
site_url = f"{base_url}/v1.0/sites/{host_name}.sharepoint.com:/sites/{site_name}"
site_response = requests.get(site_url, headers = headers)

# get the site ID
site_id = site_response.json()['id']

# Get the drive ID
drive_url = f"{base_url}/v1.0/sites/{site_id}/drives"
drive_response = requests.get(drive_url, headers = headers)
drive_id = drive_response.json()['value'][0]['id']
File Download
Now that we have everything setup, we can pull the Excel file and read it in with the openpyxl package. We’ll start with one more API call that downloads the file into memory, and then we’ll load it in as the wb object:
# Define the spreadsheet URL
file_url = f"{base_url}/v1.0/sites/{site_id}/drives/{drive_id}/root:/{sharepoint_file}:/content"

# make the API request
response = requests.get(file_url, headers = headers)

# check if the request was successful
if response.status_code == 200:

    # if successful, load the workbook with openpyxl
    file = BytesIO(response.content)
    wb = openpyxl.load_workbook(file)

    # update the user
    print("File downloaded successfully.")
With the workbook loaded in, we can end with a little code that grabs each table element and dumps it all into a Pandas dataframe:
# read in the table by name
sheet = wb["Sheet1"]
data = sheet.tables["demo_table"]

# get the table range and extract values
table_range = sheet[data.ref]

# extract all values from the table range
table_data = []
for row in table_range:
    table_data.append([cell.value for cell in row])

# convert to dataframe with first row as headers
df = pd.DataFrame(table_data[1:], columns = table_data[0])

# showcase the data
df
Conclusion
While we sometimes try to avoid Excel in the data science world, there are a lot of situations where we’re forced to use it. Excel and Python don’t always work well together, this article provides one option to help bring them together.
We hope this demo helps you better integrate Excel into your data pipelines, and you can download the full notebook of source code from our GitHub repo to try it out yourself.
We hope you learned something today, and we’ll see you next time!
Are there any humans here? Can someone get back to me I have a question.
What’s your question?